Test Sending Offers
Check personalized offers before they reach your users
Visualize and optimize personalized offers on your user's screen with this QA function. You can check and edit the layout of the offers on your own testing devices.
Test Device Settings
Every step of the process in setting your device as a tester will take place in Project Settings. Search and add your device with Player ID and Device ID at Test Device Settings.

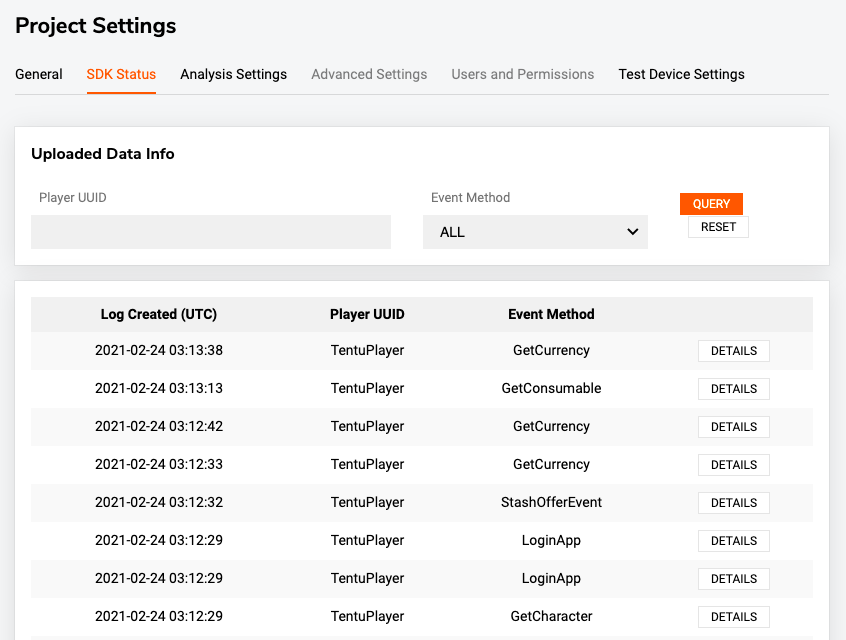
SDK Status. Next, move on to Test Device Settings where you will be able to identify your Device ID by searching with the Player ID and cross-referencing the registration date.
Nickname Settings
Add or delete any selected devices at your disposal, and assign a tag to easily manage devices individually or by group. You can use this tag function to your benefit when identifying the owner or role of each device, or when you wish to test on multiple devices at once.

Test Sending Offers
1. Set Style
Define title, image, and link for each language at Personalized Offers > + Create Offer > ADD LANGUAGE.

2 Select Device
Click SEND TO TESTER to select the devices you would like to send the offer to.

3 Check Offer at Unity
If the offer has been successfully delivered, you will be able to check it on display at Unity editor. You can always go back to the console and edit the offer as many times as you want.

Do you need help?
Do you have questions? Join TENTUPLAY Discord if you have any questions.